


Remember this dress? Well, here are the super simple, easy peasy steps to make it!

Supplies:
1 men's button down shirt (short or long sleeved)
about 1/4 yard of coordinating fabric
sewing machine, thread, scissors, etc
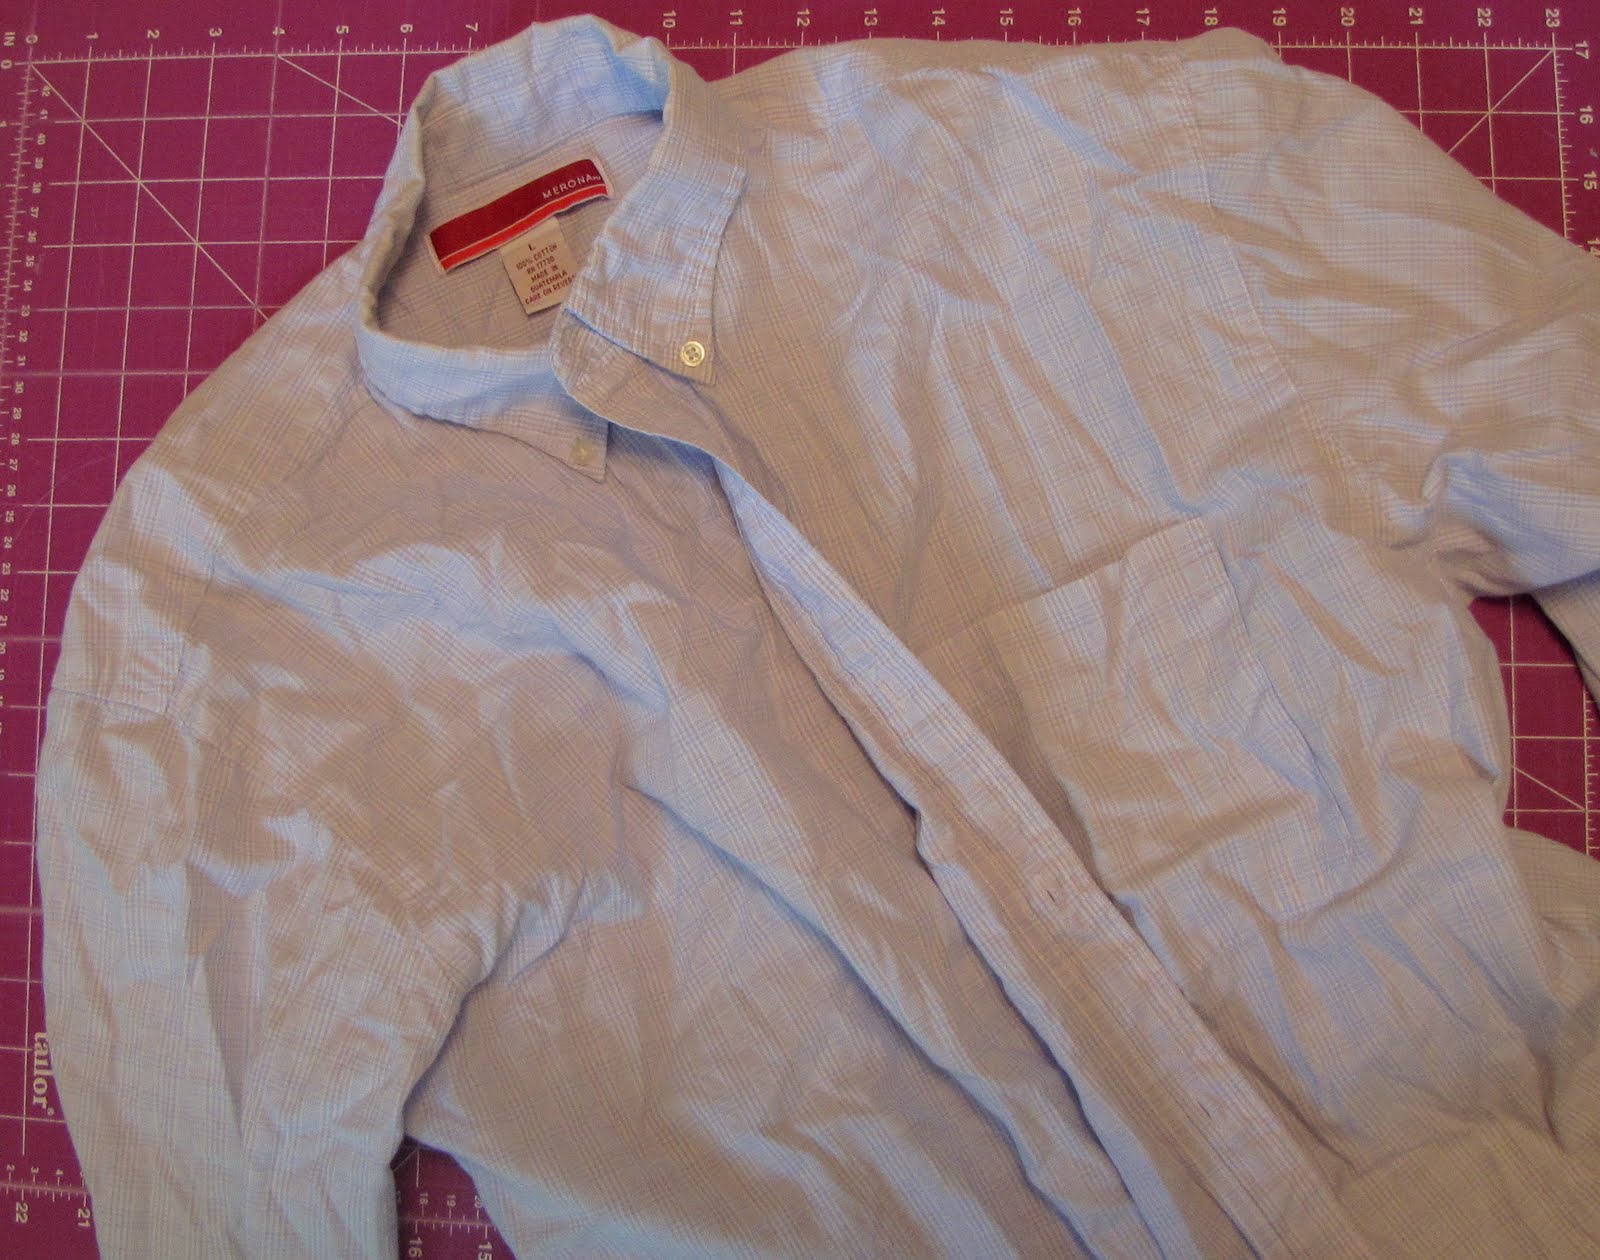
Iron shirt and remove front pocket with a seam ripper.

If the shirt has extra buttons sewn on the bottom, remove those, too.

Cut the shirt just below the armpit. To make it shorter, cut further below the armpit.

You should have two pieces now. You only need the bottom portion of the shirt - save the top for another project.

Stitch the button placket down. I tried to sew right over the existing stich line.

Now you'll need to gather the top edge. I do this by setting my machine to the longest stitch...

...and stitching around the top edge, leaving long lengths of thread at each end. A tip: I stopped at the side seams and the button placket, leaving three separate areas to gather. This made the thread less likely to break.

Next up, straps. Cut (4) rectangles, about 2" x 18". Fold in half with right sides facing and stitch along the long edge and one short edge. Turn right side out and iron. I used a chopstick.

At this point, I forgot I was making a tutorial so I had to capture these steps with the next dress. Pretend this fabric is the blue flower fabric.
This will be the top part of the dress. Measure your kiddo around the chest and add a couple inches. You'll need to cut (2) rectangles that long, and about 3" wide.

Stack rectangles so they're right sides together. Pin straps between them where you want them placed. Space the middle two a little further apart.

Stitch straps and top pieces along the top. Then, match the side together and stitch to form a loop.

Turn right sides out and iron so that the seam falls in the middle of the back.

Now you'll want to pin the skirt to the top, with the button placket on the back of the dress, matched up to the seam. The easiest way for me to do this is to first pin the front, back and sides and then gather the skirt while it's pinned to the top. Once you have the skirt pinned and gathered, sew together, like so:

Iron the edge over about 1/4". Then fold the inside portion of the top over and sew in place.

And you're done!

Back:


7 comments:
ADORABLE! I have a few shirts of my husbands lying around and I am going to give this a try. Thank you so so much for sharing!
That is too cute!
Have I mentioned that I'm afraid of my sewing machine?
I so want to make this though!
Just came over from SMS...so cute! I'm ready to go raid my husband's closet!
This is adorable. I have been looking for something cute and simple to make. Thanks for the inspiration!
Too cute! The top part was kinda confusing by looking at the pictures, but knowing what the end result was, I reread and figured it out. :) I actually love the buttons on the front! I know my hubs some button-up shirts he no longer wears.... hmm.
HELP! I'm at one of the last stages trying to attach the top to the bottom and I CAN NOT for the life of me figure it out. Can someone please dummy it down for me? I'm not the best at sewing and am tired of ripping seams out. PLEASE HELP!!!
Don’t overthink it. Sometimes it helps me to kinda “think backwards”. Think about and lay it out how it would look finished and work “backward” from there. Hope that helps!
Post a Comment